Champagne Pop Ideas to Elevate Your Wedding Photos
April 30, 2023
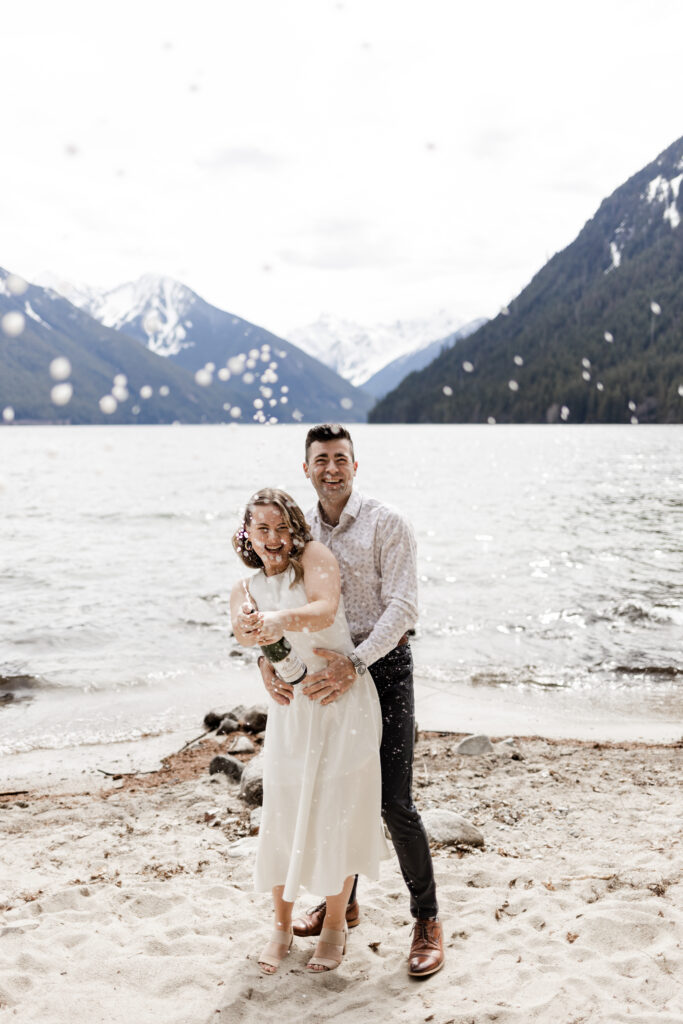
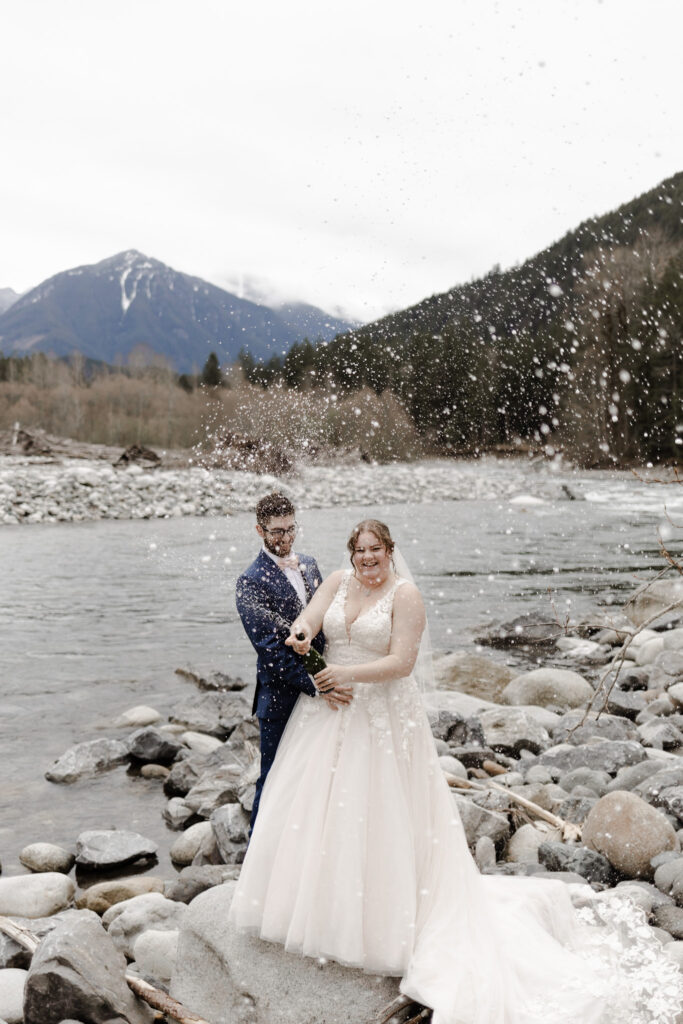
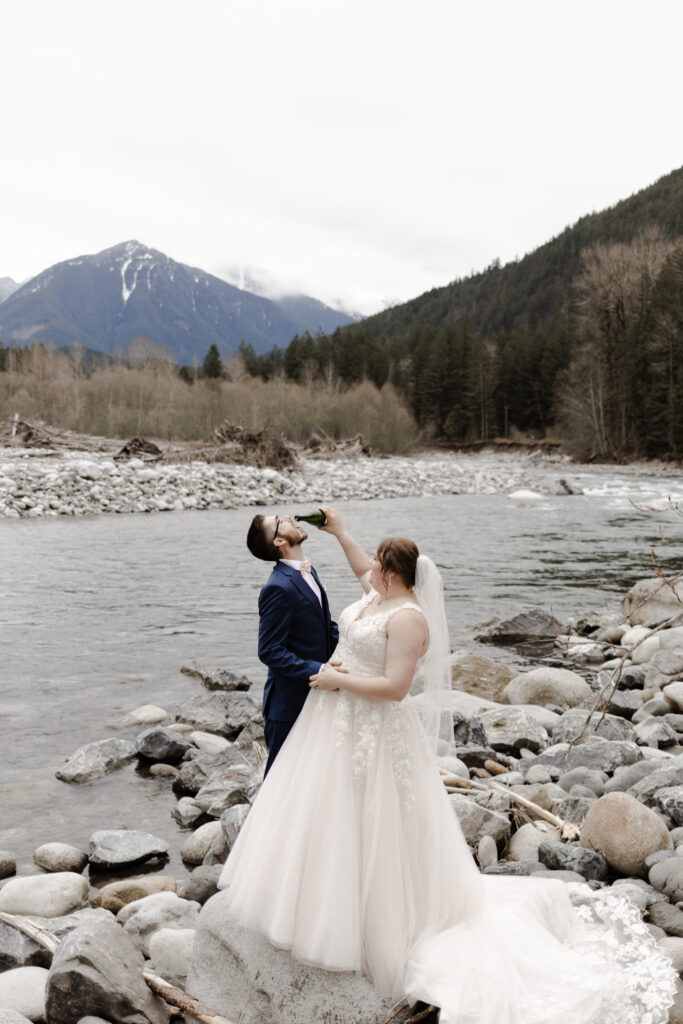
You’re probably already familiar with the classic champagne toast, but have you considered a champagne pop?
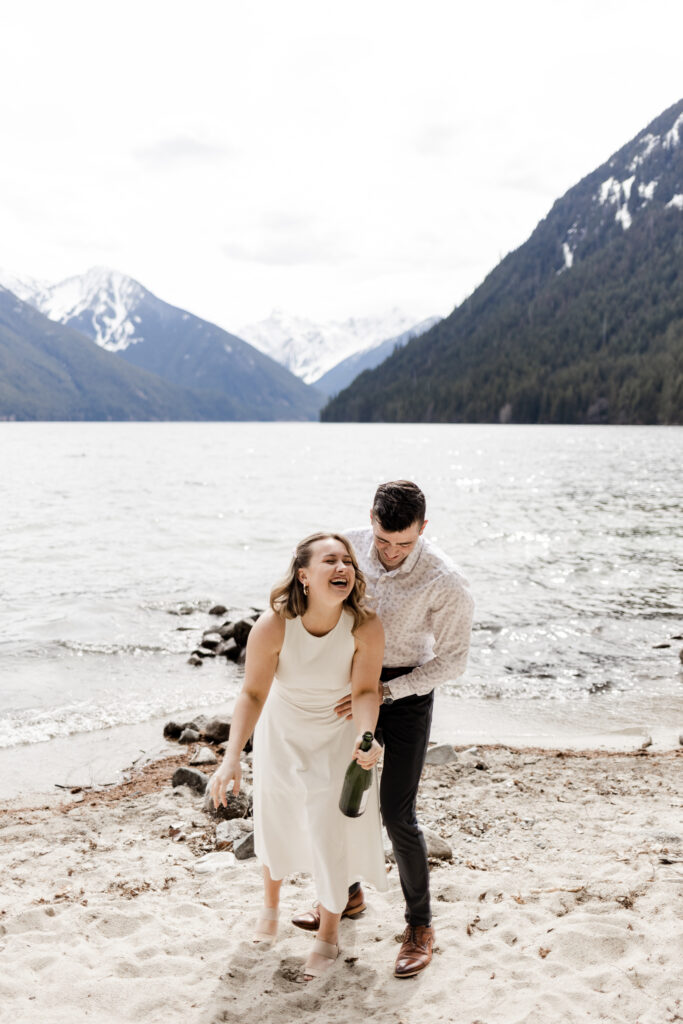
A champagne pop is something I consider essential for a Vancouver elopement, Vancouver wedding, Victoria wedding, or even an engagement shoot. It’s cheap, easy, and makes for the best photos! Why not take a moment to celebrate in style?
As a Vancouver wedding photographer, I always prep my couples for this shot—because while it may look spontaneous, there are a few things that help make it epic. So if you’re planning to whip out a bottle during your photoshoot, here are some tips I give all my couples to get that perfect pop:
Buy Two Bottles
Yep, that’s right. If you actually want to sip some bubbly afterward, I suggest bringing two bottles:
- One for the spray,
- One to drink.
To be environmentally conscious and avoid wasting good champagne, I often recommend using a bottle of sparkling water for the spray (it still looks amazing in photos!) and saving the champagne for sipping.
This way, you won’t be worried about wasting any or running out before the celebration even starts!
Shake it Up!
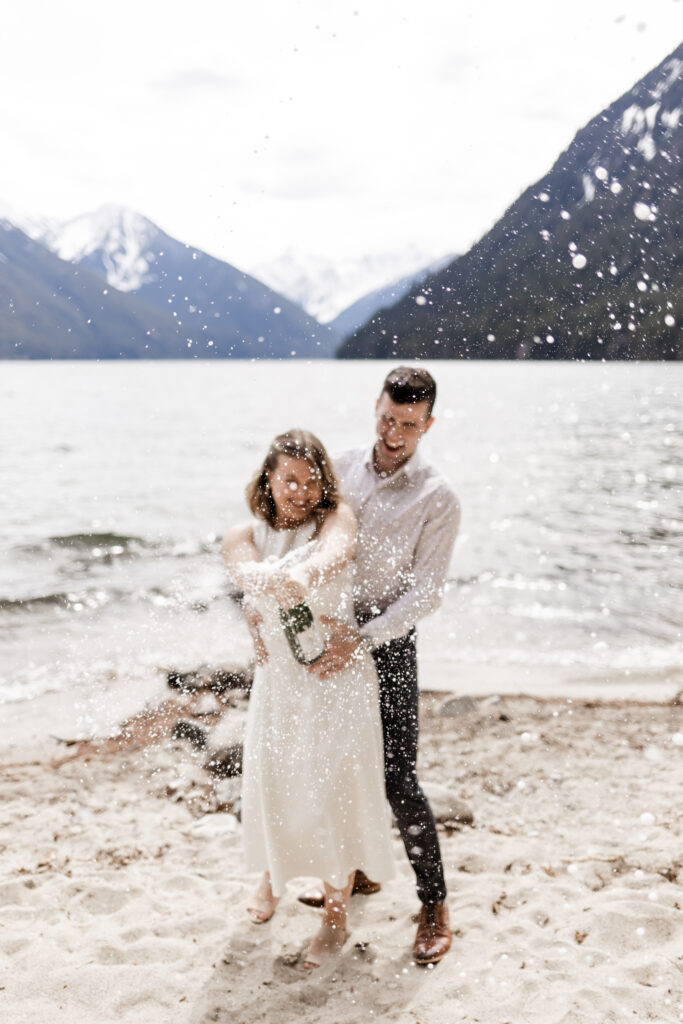
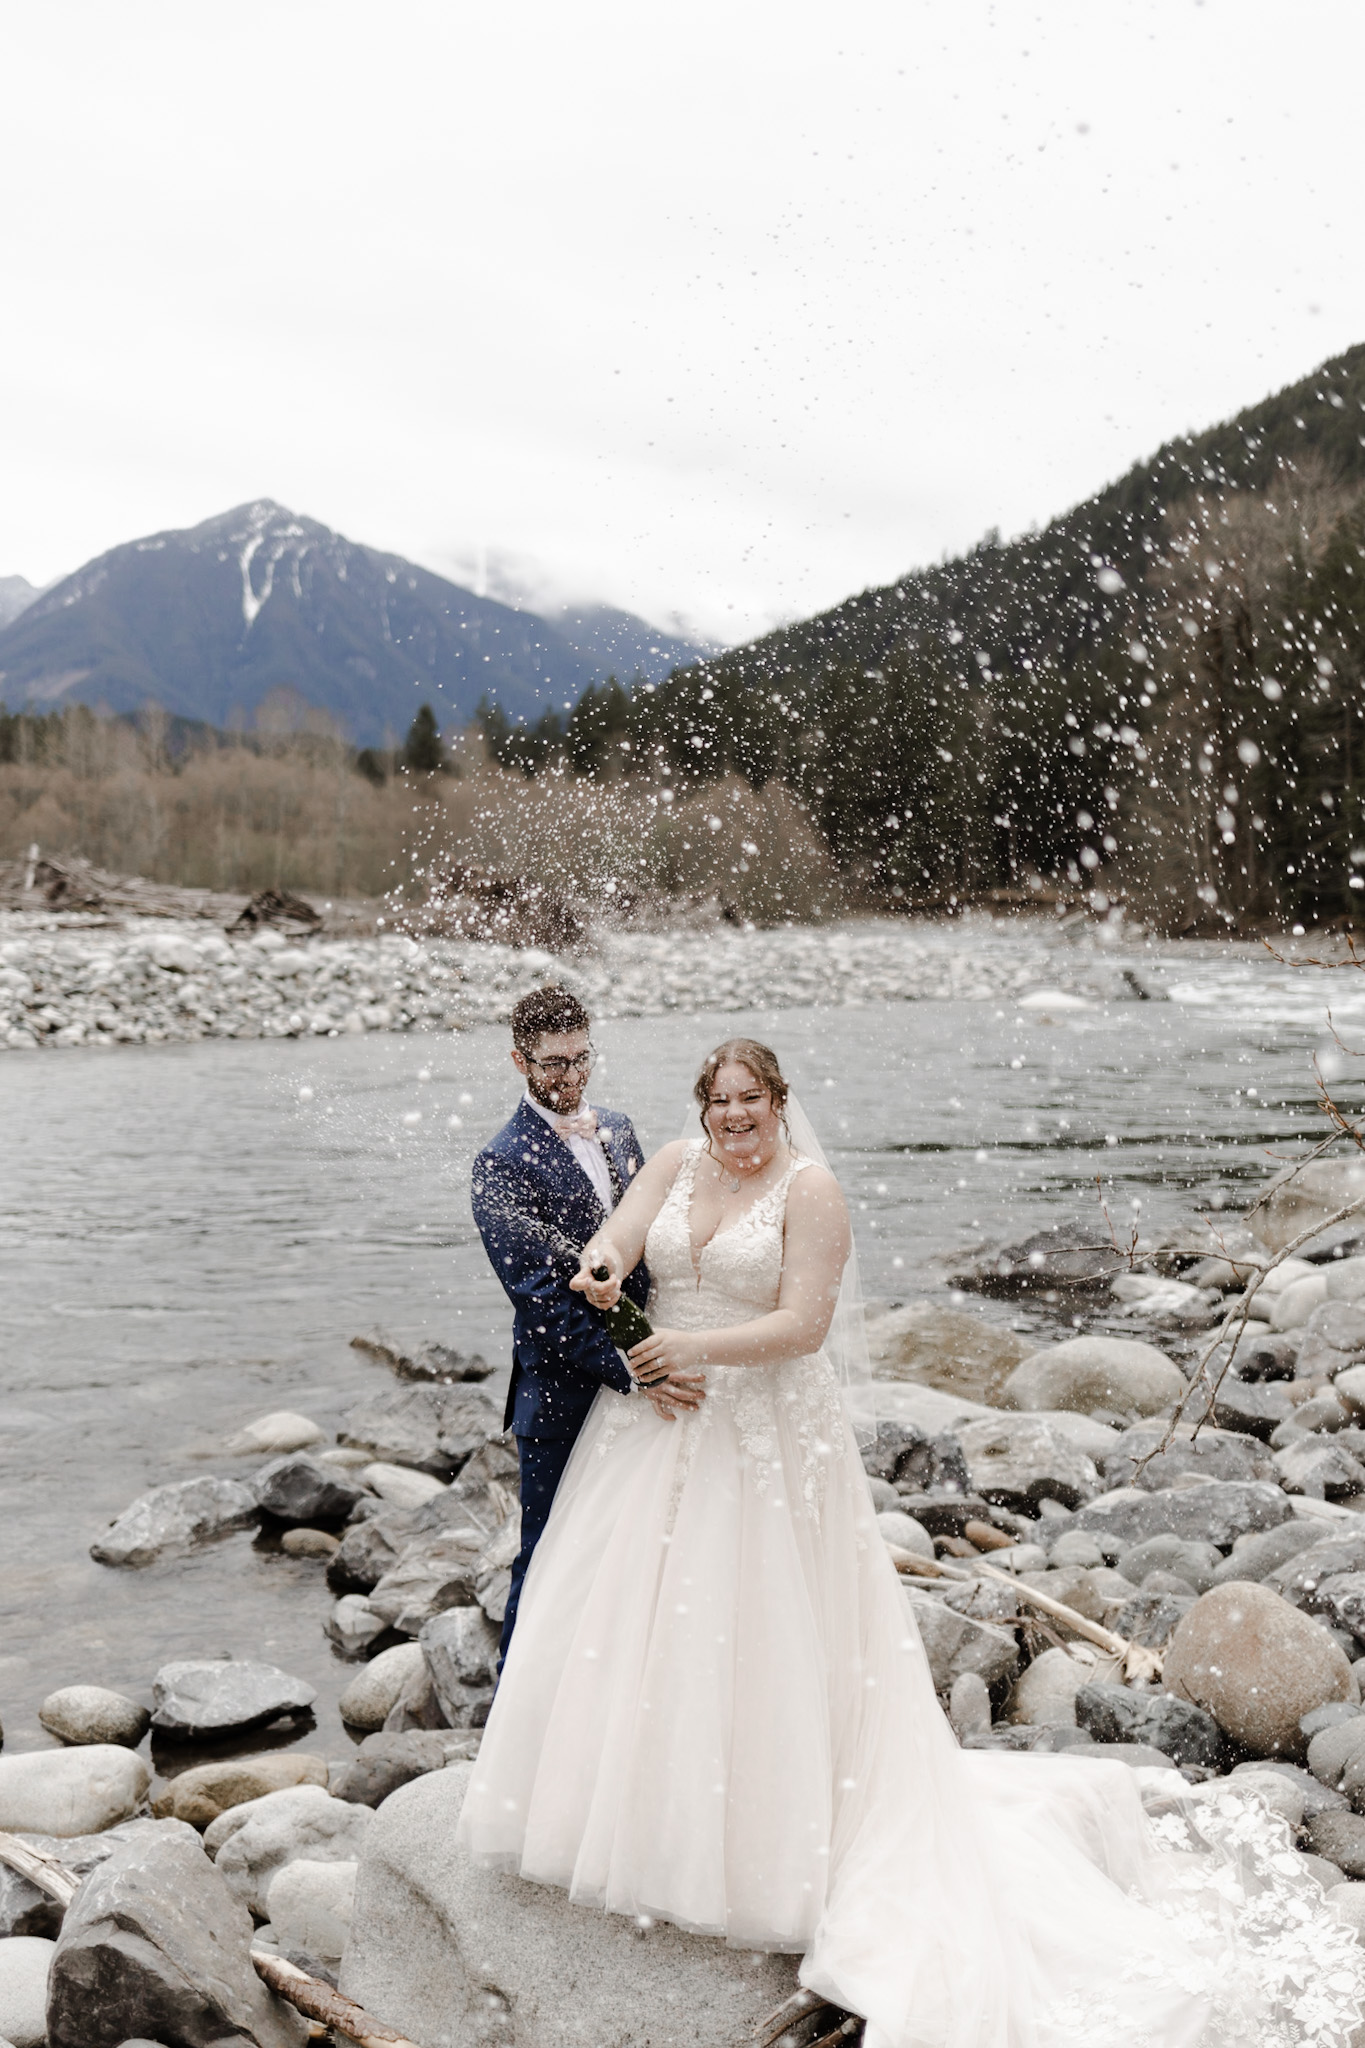
When you’re ready to go for the spray, remember to shake it up first! You’ll also want to partially cover the top with your thumb or finger (kind of like when you used a hose as a kid to spray your sibling). That little bit of pressure helps shoot the liquid out and creates an awesome, fizzy burst of celebratory joy.
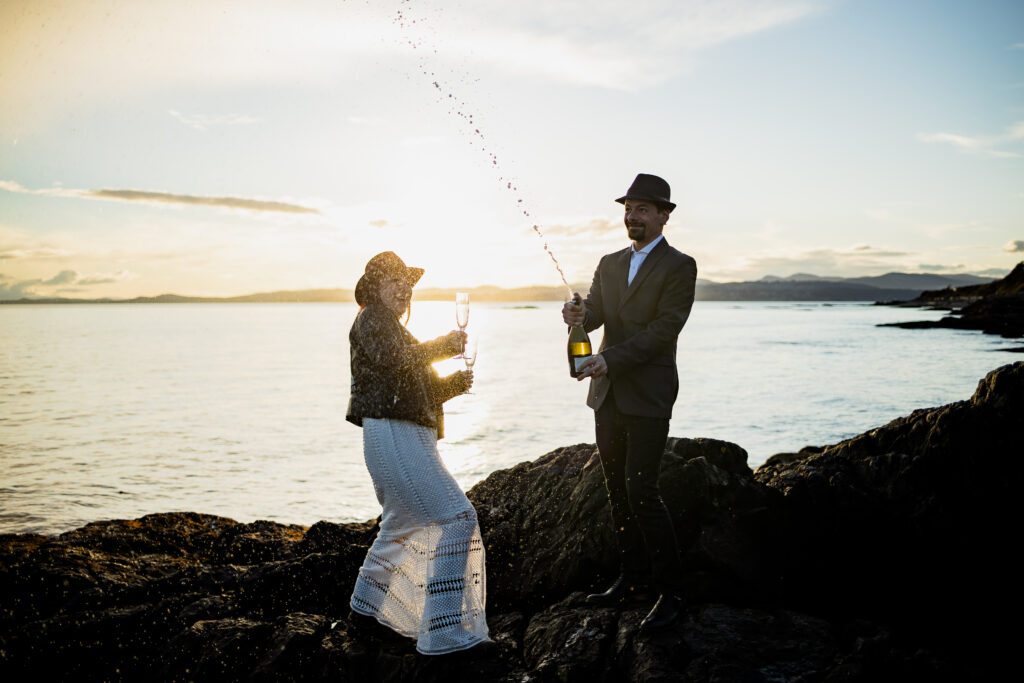
Whether you’re planning a Vancouver elopement in the mountains or a dreamy Victoria wedding by the sea, this simple move adds a playful energy to your day—and the photos.
Aim Right at Me
You heard me! If I’m your Vancouver wedding photographer, don’t be shy—aim it right at me.
Most cameras (and your photographer, if they’re like me) can handle a little spray. Aiming toward the camera helps capture the full explosion of the spray with depth and drama. Trust me—it makes a huge difference between a good shot and an unforgettable one.
Plan for Stickiness
Whether you’re popping champagne or juice, it’s going to be sticky. Keep this idea for an outdoor location—whether you’re celebrating in a vineyard, a mountaintop, or a park in downtown Vancouver. Also, bring a towel or napkin to wipe your hands off afterward. You’ll thank yourself later.
Want More Fun Photo Ideas?
Looking for another “wow” moment to level up your Vancouver wedding or engagement shoot? Check out my blog on sparkler exits and learn how to pull one off like a pro!
